Using the raw data from our last episode of Deep in the Sheets, we’ll show you how to use calculated fields in Excel pivot tables during this week’s episode. Watch the video to learn how to create calculated fields for:
- Click-through rate
- Conversion rate
- Return on ad spend (ROAS)
- Return per thousand impressions (RPI)
In the next episode, we’ll insert this data into a graph to show change in metrics over time. Enjoy!
Read on for the full transcript:
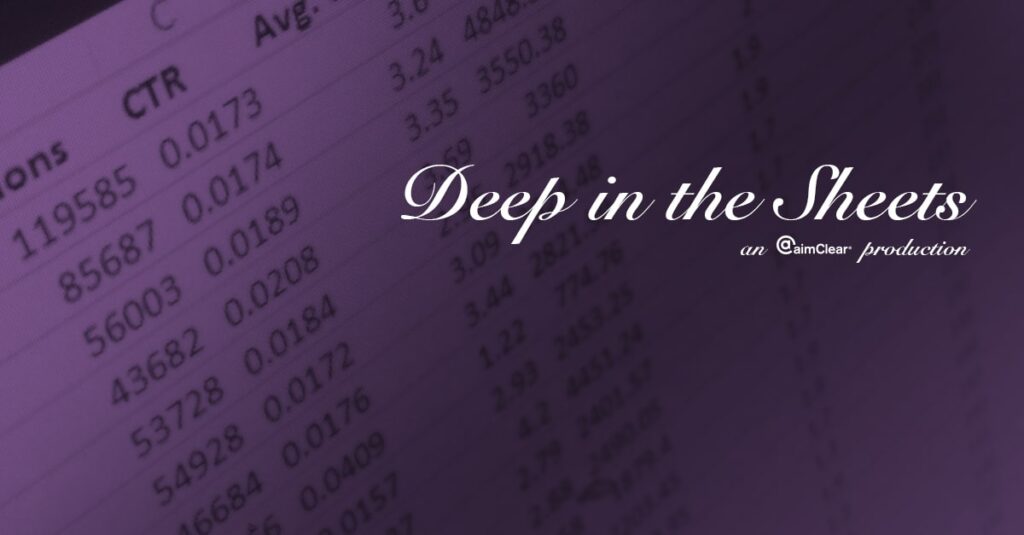
Hi everybody, this is Dion. On this week’s Deep in the Sheets we will be looking at calculated fields for a pivot table. [MUSIC PLAYS] We have the raw data from our last episode, we’re gonna go ahead and start by throwing it into a pivot table. Get that going. And the first calculated field we’re going to do is click-through rate. We could do the average of our click-through rate that’s already on the field, but this is going to be more accurate, it’s not going to average the zeroes and that sort of thing. So we’re gonna call it “Calculated Click-through Rate.” We’re gonna go ahead and insert clicks divided by impressions. Add that in. And if we jump back to our pivot table, that’s ready to go. We could change that to a percent so it looks a little more familiar to what we’re used to seeing a click-through rate look like. So, we’re gonna go ahead and look at this by campaign so we can see the different click-through rates of our campaigns. Now, I don’t like to see the grand total down here so I’m gonna go ahead and remove that from our pivot table. So “OFF” for rows and columns. So that’s the first look at a calculated field. Pretty straight forward, and there’s a lot you can do in a calculated field’s formula. So the next one we’re going to look at is just a conversion rate. This is a nice one to have. You know, we’re all used to seeing a conversion rate. And we can do the same sort of—same sort of thing with this one. So we’ll dude “Calculated Conversion Rate.” Conversion rate is just conversions divided by clicks. So, easy as that. Conversion rate gets right in there so we can already start to see campaign 1 is already standing out as getting a pretty high conversion rate. Some of the more advanced formulas that are nice to see are return on ad spend, which you’ll hear as “ROAS.” And this is a nice one because it considers the conversion rate as well as the spend. So, ROAS is just—let’s see we’re gonna get a bracket in here, we’re gonna do first which is basically revenue formula, so we’re going to do—where is it? So, let’s see, we want conversion value, minus our cost, so we’ll get a revenue there, and then divided by our cost. Oops, so we need to finish off our formula here and so we still need to add in cost. Cool! So that’s our return on ad spend. So if you look at this, a return on ad spend of 167%, that’s gonna be for every dollar we put in, we’re gonna get a dollar and 67 cents back. And if we look at this one, 494, we’re making a lot of money back on that formula. So, the last one I’m gonna show you is return per thousand impressions. This one’s nice because it considers conversion rate, cost, and it also considers the volume we’re seeing. So, return per thousand impressions, which we’re gonna write “RPI.” We’re gonna start with two of these, Then we’re gonna start with a return calculation which is similar to last time. We’re gonna do conversion value, minus cost, then we’re going to divide that by impressions, so that’s just gonna say what is our return per impression. Throw that in there. Now, the problem with that is that’s gonna be a number that’s super small. Our per impression is gonna be like .00001. So we’re gonna multiply that by a thousand just so it’s a usable number. So this one will not be a percentage. We’ll just make that a number. I’m sorry, we’re actually gonna make this currency. So, for every thousand impressions, we get $341 back; and that’s already minus-ing the cost of our advertising. So, those four calculations are easy to do, There’s many more you can dod with these calculated fields. Next week we’ll look at throwing these into a graph that shows over time, so we can see how these different metrics work over time displayed in a graph form. That will be next week on Deep in the Sheets.