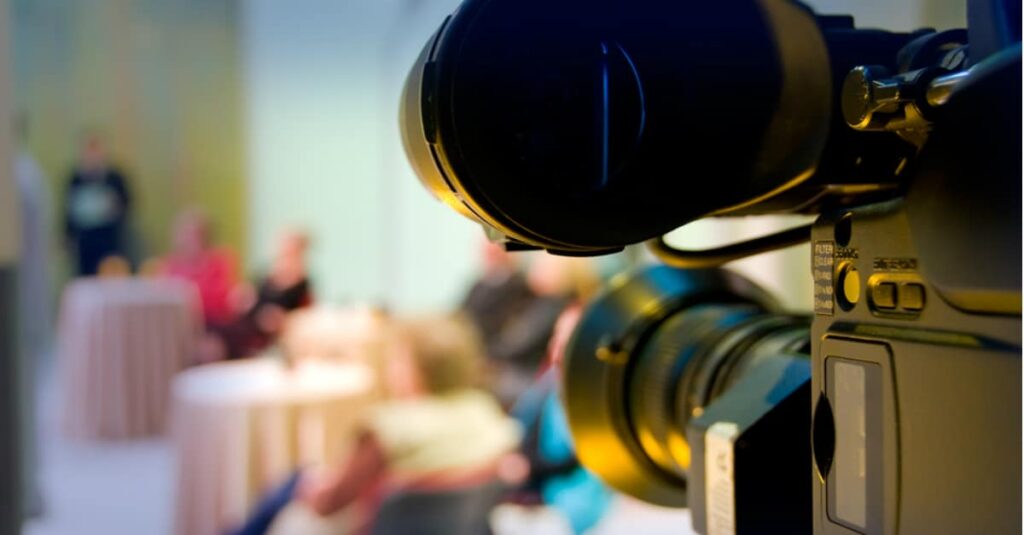
Video storytelling work is difficult and time consuming—far more time consuming than some things, given the length of the final product. Prior to joining AIMCLEAR, I worked as a television photojournalist for a local ABC affiliate. Every multimedia journalist’s shift was about turning car accidents, school board meetings, and the occasional spaghetti dinner into compelling video for immediate evening broadcast.
The requirement for immediate turnaround in broadcast news storytelling offers stark lessons to my marketing colleagues. Whereas advertising agency “video production” tends to result in processes steeped in brooding and long turnaround times, journalists are required to churn and burn.
By sticking to some basic tenets of video shooting and editing, in news, it’s common to produce entire two-minute-long videos, start to finish, in about an hour. That’s an insanely fast turnaround time for most advertising agencies. Let’s look at the basics for daily, high-quality video storytelling turnaround.
When first starting out filming and cutting video, it can seem like an incredibly daunting task. It’s akin to writing a blog post in a foreign language; right after someone slams an English-to-Dutch dictionary on your desk and tells you to figure it out.
With a few easy techniques, even a novice can start cutting videos like a pro.
- Storytelling and Writing for the Ear

You should know your audience and whom you’re targeting the story towards. You need to ask the question, “Who is watching this?” and most importantly, “Would I watch this?”. If the answer is no, start over—immediately. It’s a waste of time to produce a video you couldn’t bear to watch.
Audiovisual storytelling is a different beast than print or public speaking. Viewers have shorter attention spans, and if your video is pushing eight minutes in length, tighten it up. When I worked at the news, all of our packages (fully produced pieces complete with studio voiceover) clocked in at less than two minutes.
You should be able to sum up the entire point of your video in one sentence. My mentor once told me that a good story is “someone doing something for a reason.” If you can fit your idea into such criteria, you have the makings of a strong story. If not, then you have to go back to the drawing board and find a way to tighten up your idea to make it appealing to the viewer.
Tailor your writing style to the ear. Your writing should be conversational and easy to read. When writing a script, read it out loud. For real. Don’t worry; no one will judge. If you stumble over your words, or find yourself wanting to say your point in different wording, change it. Keep sentences short, with one idea each. Run-on sentences with multiple subjects confuse the ear, and you’ll find your viewer hearing what you say without retaining any information.
- Audio
This is a realm of video some might overlook, but in reality, it is by far the most important part of your storytelling. NPR can tell an entire story with simply the audio, and your narrative should be able to stand on its own without any visual data to supplement it. Even beautiful images can be undercut by crappy audio.
The first thing you must realize is the microphone on your camera sucks. It really sucks. Those internal camcorder microphones have horrible sound quality, and can make your talent sound like they’re coming to you live from the bottom of the village well.
Invest in a higher quality lavalier microphone.
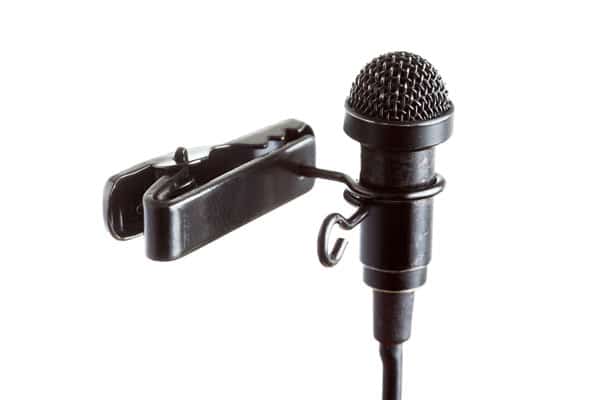
Also known as lapel mics, these are the ones you see peeking out of newscasters’ jackets on TV. You can find a decent wired one for fairly cheap, and they can plug into most small camcorders and smart phones via 3.5mm jack. You can even record the audio separately on your phone and sync it up when you’re editing the video.
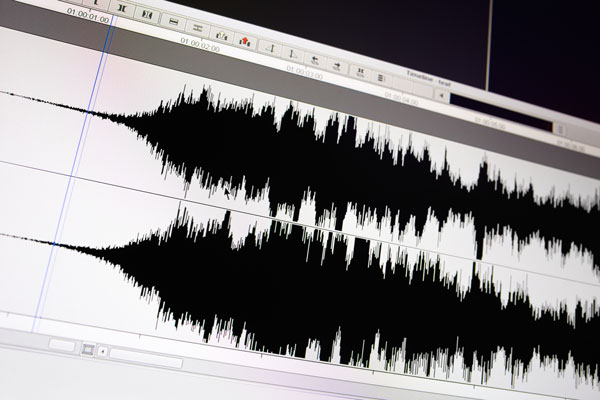
“But Nate!” you scream while taking your new microphone out of the package. “How do I sync up the audio on the camera with my phone?!” A simple handclap while both are recording will do. This creates a peak on the camera’s audio waveform, as well as on the phone. All you have to do is line up the clap peaks on your waveforms, delete the camera audio, and BOOM! You’re synced up.
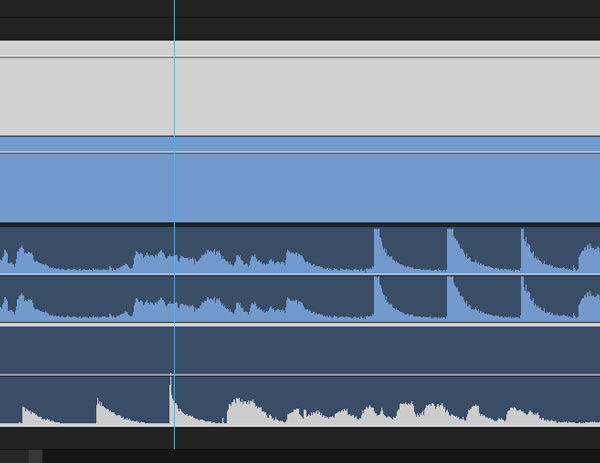
Two separate audio tracks un-synced. Three claps appear as three sharp peaks on both audio waveforms

Use the peaks from the claps to synchronize your audio!
Be sure you adjust your audio levels when you edit. Keep your voice peaking between -6 and -12db. This is broadcast standard and prevents distortion, as well as ear damage.
- Lighting

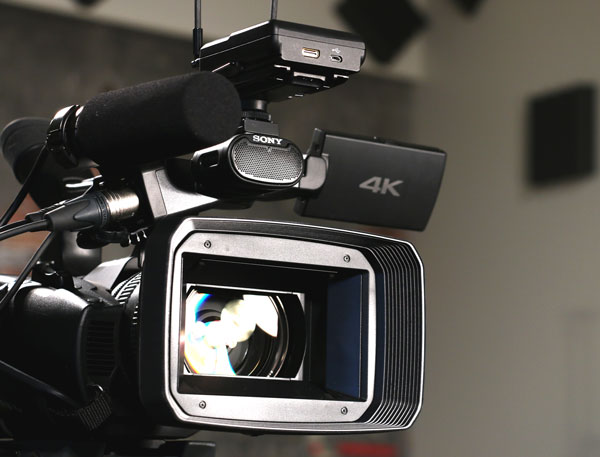
Quite possibly the most expensive and maddening part of video is getting the lighting right. Cameras are much worse at seeing light than our eyes. They need much, much brighter subjects to produce high-quality images.
Adopting three-point lighting immediately improves the quality of your image. This involves two lights at about 45 degrees above your subject filling in the shadows on their face, and one light behind the subject giving them shape and contrast against the background. You can find a great tutorial on three-point lighting here.
A cheap way to get some light on your subject is to go to the hardware store and find a few metal construction lights, like these.
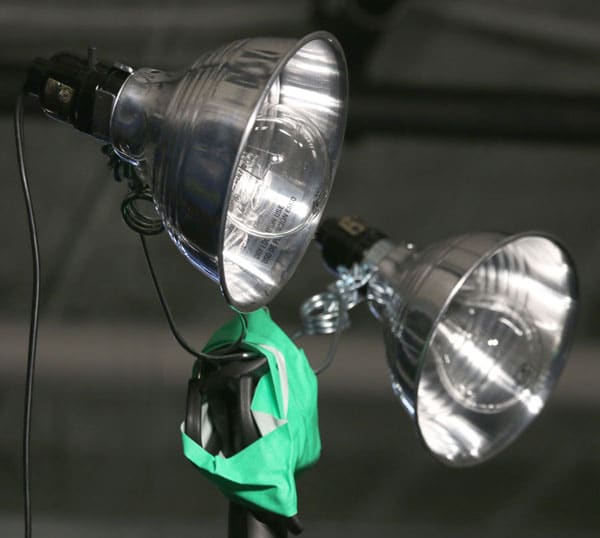
They have giant clips on the bottom so you can attach them to a mic stand, pole or anything that will get them in the right place out of the shot. Next, you want to get at least 100 watt bulbs for the lights. This might sound like overkill, but this amount of light will be just enough to eliminate any gain or noise in your image. Be sure your light is rated to handle the wattage bulb you screw in.
WARNING:Â Incandescent bulbs are dangerous, especially at high wattage. They get extremely hot and you could easily burn yourself, or burn the building down if you’re careless. Use the utmost care when staging your lighting. ALWAYS make sure the area is free of any thin fabrics or any other flammable material, ALWAYS wait for the light to cool down before you handle it, and ALWAYS ground your lights through a surge protector. Secure your clamps with gaffer tape to ensure the light stays put. To reduce risk of fire, buy LED or CFL bulbs. They produce far less heat with brightness equivalent to incandescent.
We highly recommend you read The Bare Bones Camera Course for Film and Video by Tom Schroeppel. This book explains, in plain English, how to properly produce videos, from framing your shot to correct exposure and general camera usage. Every photog worth their salt has flipped through this book at some point in their lives, and this short read can get you started creating beautiful, compelling videos.
Take a lesson from timeless values practiced by photojournalists, tune in to the basics and crank out high-quality productions in hours instead of days.
 Shutterstock Copyright: DeshaCAM